
In wooden boat building a well known milestone is the "Hull Flip" - Most wood boats are built starting with the hull, so most builds start upside down. Flipping the hull over to begin deck work is the first time we get to actually see what the lines of the vessel look like. It's also the first time I'll get to feel the overall weight - although the plywood forms probably double the actual hull weight.
It's a little scary taking all the supports loose. Up to this point the temporary supports and forms have held everything firmly connected to the box beam below but now the forms are held in place by the dabs of hot melt glue on each cedar strip. The hull now has the strength to hold itself together and keep the forms in position relative to each other.
While the kayak is off to the side on saw horses I made up some plywood cradles to support the hull while I work on the deck.
Before I can start stripping the deck I'll need to strip two portions of the deck where the hatches will eventually go. The hatches are cut out of the deck, so they would fall right in without a ledge to support them. These blank panels have the shape of the deck so they can be mounted to the inside of the deck later on to support the deck. More on this later...
Next I move on to actually stripping the deck. The outer most seams where the deck meets the hull have to be dry fitted and not glued. This is because later on I'll need to remove the deck to gain access to remove the plywood forms and fiberglass the insides of both the deck and hull. I applied a strip of blue painters tape to act as a resist if any glue or resin accidentally wicks into the gap at the first strip.
After some more checking I discovered that the #2 form was about 3/4" too low to allow the strips to contact it, and maintain a smooth flowing curve. I'll have to let the strips "fly" over this form and eyeball the curve to make sure the curves are looking smooth.
I dealt with the 2nd form by gluing a tab on that represents where the form should have been - now I have an elevation to aim for as I strip up to it.
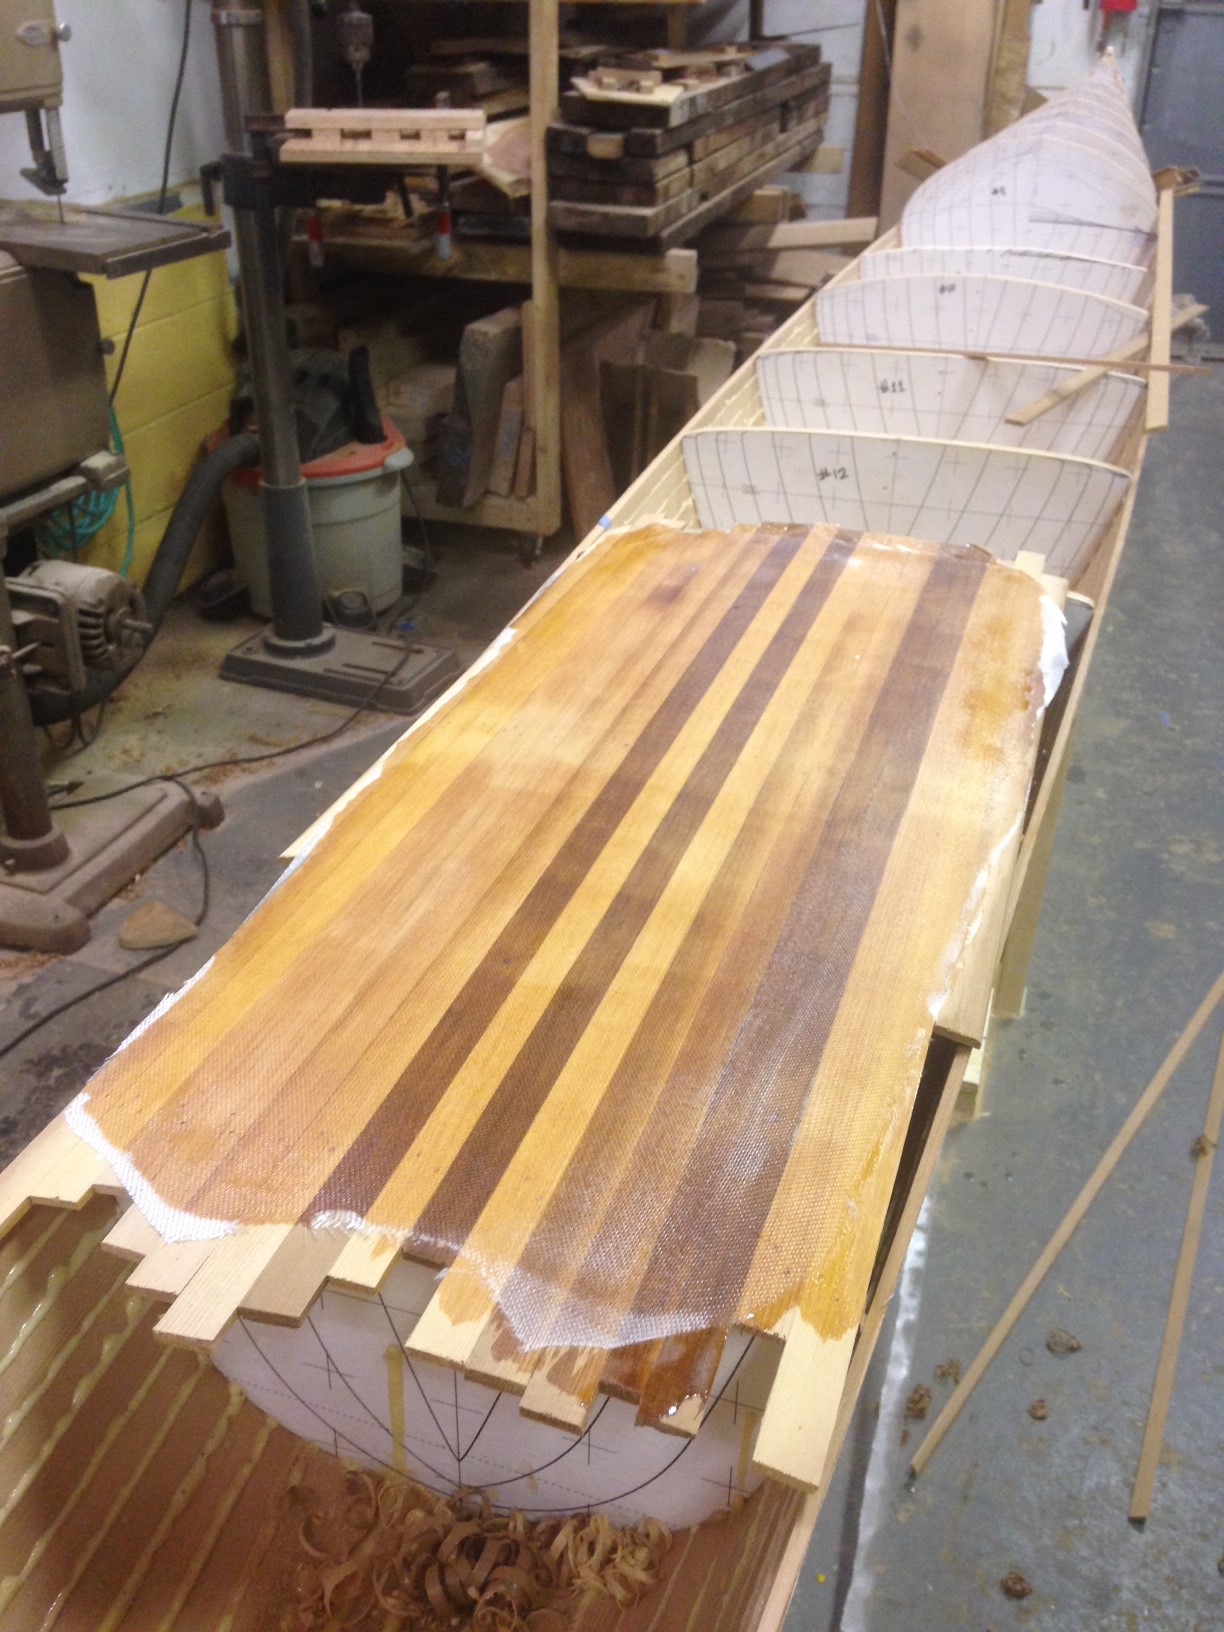
Now its just strip after strip for a while - I'll be adding some contrasting wood and a design closer to the middle of the deck, but before that I'll need to add about 6 full length strips on each side. The strips do get easier once they reach the cockpit opening, because they no longer have to fit precisely between the bow and stern. Each strip can run past the cockpit opening and be trimmed later.
Every pair of strips added shortens the necessary length of the next strips. I'm joining them down the center line to mimic the look of the hull center line joint.
I mentioned the strips get easier - originally I was running full length 20' strips - now I'm able to run strips that are approximately only 7' long because they can be rough cut at the cockpit opening.
Thanks for reading! I'm planning to reveal the deck design in my next post - stay tuned!