
Glassing the Hull
Stripping the first side of the hull is quicker than the second side because all the strips can run long, and overhang the center line of the kayak. Once the first side was stripped up to the center line of the hull I re set the same string line I used months ago to align the forms and re-found the center line of the hull. It's critical at this stage to make sure the string is pulled super tight and aligned perfectly as any curve or twist will create a boat that always wants to take a right or left turn!
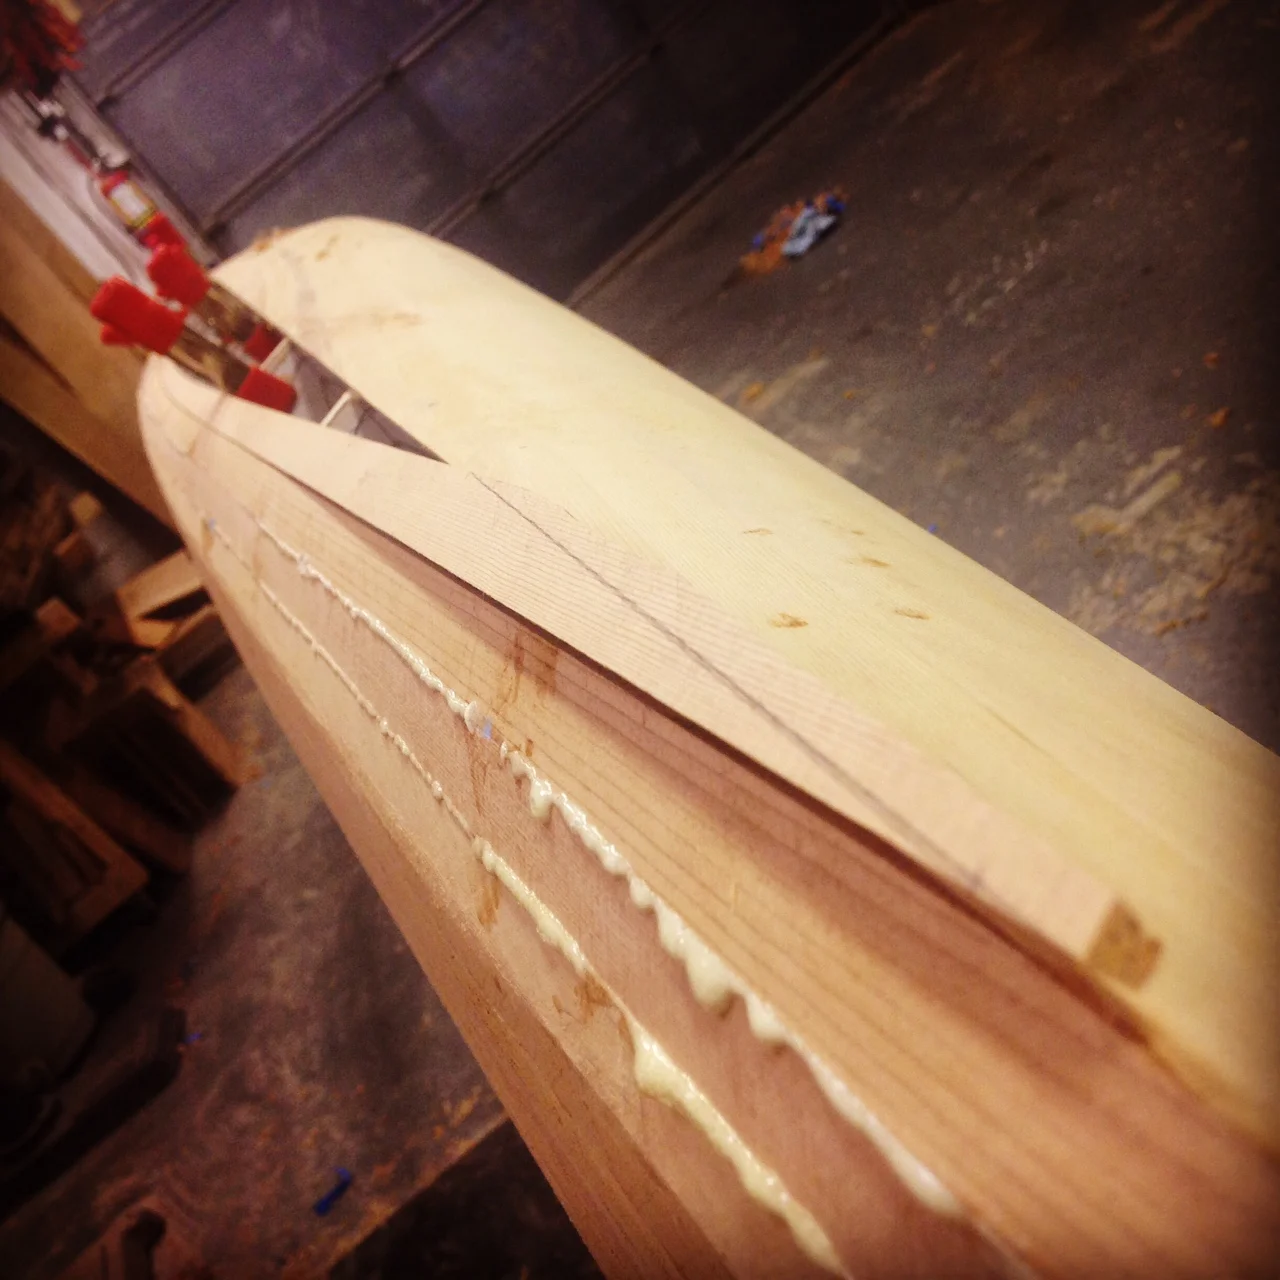
Here you can see I've got the string line in place, and the my hand plane has rubbed against the string a few times fraying it.
With a true/Straight center line established from bow to stern it was time to bring the strips up to center on the second side. Clamping gets trickier and space for clamps gets very narrow.
Now each strip needs to have the taper cut before it can be glued in place. I use pinch clamps to hold the strip in place so I can get a line, then take it off and hand plane to my mark.
Getting good clamping pressure takes creativity.
Strip by strip the hole in the middle gets smaller and smaller - Maybe this thing will actually float one day!
Only 3 or 4 more strips!
Finally the day comes to fit the last strip. This one is particularly tricky because it fits flat against the other side of the hull, yet needs to curve from nothing, out to 3/4", and back to nothing on the other side, and its 7 feet long. Plus it cannot be clamped so it needs to be a perfect fit.
One last strip!!
Finally the hull is stripped! The next step is possibly the most tedious of the entire building process - sanding and faring the hull into its final curved shape. Power tools of any sort are too unpredictable and could jeopardize the shape and smooth flowing curves so the only way to do this safely is by hand. I glued up several grits of sandpaper pieces of 24" x 6" plywood to make large flexible sanding pads that will bend enough to stay in contact with the hull, but also distribute the sanding pressure evenly over a large surface area to avoid digging into a particular area too much. This step takes hours and hours and hours - there is no easy way around it.
Starting to knock the hard corners off each strip to reveal the curves hidden inside.
I sanded all the glue and lumps with 60 grit paper - super aggressive considering how soft the cedar is. The 60 leaves deep scratches that will need to be worked out carefully with finer grits later. After a long night of sanding I used a wet rag to get a sneak peak at what the wood will look like once it's finished.
Even with the rough 60 sanding the curly maple grain is starting to pop!
I sanded everything over with 60 grit, then 100 grit, and did a final pass with 220 grit. Any finer and the wood surface will be too smooth for the fiberglass to get a good grip and could cause a weakness. Near the end of sanding I discovered that by turning off all the lights in the lights in the shop and using my headlamp I was able to focus only on the spot directly in front of me, instead of being distracted by the whole 20' of kayak.
The final sanding step is to wet the entire hull, which swells the individual wood cells. After it dries it gets sanded one last time (lightly) and its ready for the next step.
Now on to the fiberglass. Because this boat will never go anywhere near rocks, and also because of its general high speed/racing design, I'm using the lightest weight fiberglass possible. Heavier glasses are good for abrasion resistance, but they hold more resin which means a heavier boat. I'm using a single layer of 4 ounce glass on all surfaces on this kayak.
The fiberglass appears white because of the air between each of the super fine glass threads. This will go away when the air is replaced with clear resin.
I start by laying out the fiberglass by using my hands to push out any creases or wrinkles. I start at the center and work towards the bow or stern. It is essential for the glass to lay perfectly against the wood or I will have a lump in the kayak later on.
No wrinkles allowed!
Once i'm happy with the fabric I trim the excess off the sides to remove any weight pulling down unevenly which could distort the weave. I leave about an inch all the way around to trim later.
Ready to wet out the fabric and turn it clear!
Resin (Epoxy) comes in different mixes that cure at different rates. Since I've done this once before I decided to be a little bold and try a blend that cures more quickly so that in future steps I'll spend less time waiting for glue to cure. However, the hull is the largest area i'll have to wet out with this quick curing epoxy so i'll have to move quick to avoid ruining all my hard work up to this point. Because i was working under a time constraint, I only took one photo of the wet out while it was happening.
Applying the resin
I use a flexible plastic spatula to press the resin into the fabric, and as soon as it turns clear I use the same spatula to scrape out any available excess resin. Excess at this stage is just extra weight in the finished boat. Plus, by squeezing out any extra I ensure that the fabric is in perfect contact with the wood below. The total time spent to wet out the fabric was about an hour and a half.
The fiberglass fabric has turned clear, it's on there but you wouldn't know it!
I stayed with the kayak for a few hours making sure no bubbles showed up, occasionally I had to run my finger down the glass to press out a bubble at the very tip of the bow. The bow was too tight of a radius for the glass to bend around it, so i'll just sand this area later and brush on several layers of resin.
Now we can really see the figure of the curly maple
Epoxy cures via chemical reaction, not by drying like other glues. In order to ensure a perfect cure I followed the manufacturers specifications and brought the temperature up to 70 degrees in the shop for 24 hours before this step, and 48 hours afterwards. After about 12 hours I came back to use a razor knife to trim the excess glass off before it gets too hard and brittle.
The next step is to remove the kayak from the upright support pieces and flip it over to work on the deck. Stay tuned!