
Bjorn Thomasson Sea Racer Christmas update
It's been a busy week in the shop, lots of progress and photos to share!
With the forms basically in place, I turned my focus on getting my workspace set up so I can be as efficient as possible. With a 20' long boat its a real pain to have to walk all the way around to the other side to reach a clamp that's only a few feet out of reach. I suspended a light weight and adjustable rack from the ceiling to store all my strips in. This will make it really easy to just reach up and grab a new strip, plus it keeps them totally out of the way and having them high in the air will keep glue drips and misc. crap off them. I made the horizontal member nice and skinny so all my clamps (even the tiny ones) can be clamped on and never be out of reach.
With the rack almost done I got distracted for a bit and started installing temporary full length strips. These strips serve a few different purposes - they hold the forms more securely in place, helping to resist flex and deflection as the strips apply various forces. I installed some diagonal bracing to create an anchor point to pull a tape measure off, so that i can set the tops of the forms at the same 32cm centers that the bases of the form brackets are set on. some stations were as much as 3cm out of tolerance, but easily fixed with the temporary support strips.
They also help to visually confirm the forms are placed correctly. It's easy to see in the photo below that station #6 has something funny going on and its MUCH easier to adjust this now than later.
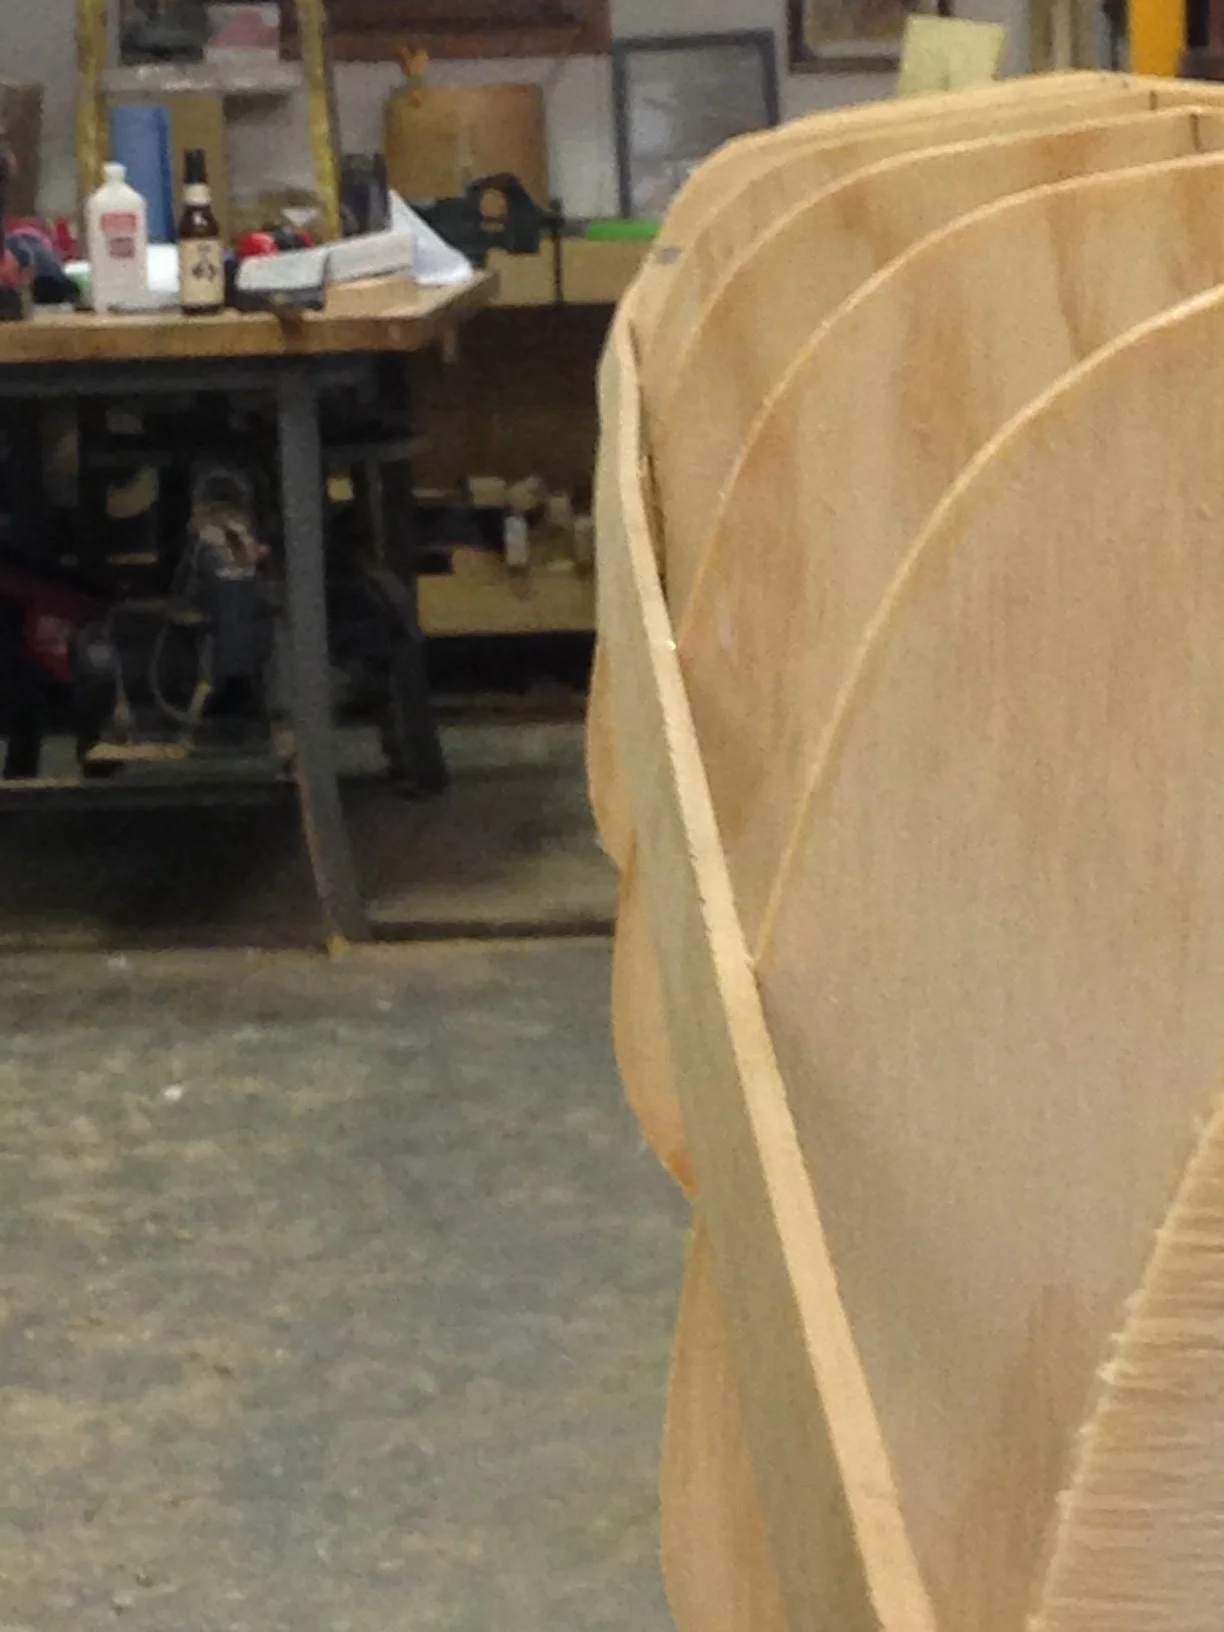
The #6 form lines up correctly on the keel and starboard sides, not sure why this spot is so out of whack. I'll just "float" the strips across it keeping a close eye and after a few strips I bet they will start to lay on the station correctly again.
Starting to get an feel for how streamlined this beast is!
Moving on to cutting the strips. This is a delicate task with no room for error. I was able to source 2 - 20' long 2x6 vertical grain western red cedar boards from a friend who runs a lumber yard in DC. These babies are not cheap, but its pretty special to get to have full length strips with no splice joints on a 20' boat. The grain is amazing, you can put your finger on a growth ring at one end of the board, and follow it 20' to the other end of the board.
I have cut strips once before, and it required two people. This time I'm by myself, and would prefer to not have the option of blaming anyone but myself if I screw up. I created a fence extension for my contractor grade table saw out of the leftover scrap of plywood from the stations and a 2x4 screwed on edge. I installed the fence, and maintained constant pressure against the table and fence with feather boards in two directions. I also installed two ridged blocks to keep the work piece down against the table, with a few thousandths of clearance so they don't create any additional drag. I sanded the plywood surface and waxed it with paraffin so keep friction to a minimum, knowing that I'll be pushing maybe a few thousand feet of board across this saw in the next few hours.
Time to raise the blade and start cutting!
This fence system (combined with infeed and outfeed supports) makes it very safe and easy to cut 20' lengths by yourself. The one downside is that the big oak feather boards have to be repositioned after each cut. After a little while I had this pile of 3/4"x1 1/2" strips.
Next I'll reposition ALL The feather boards and cut these on the 3/4" side to create my finished strips. The finish size of each strip is 3/16" x 3/4" x 20'.
3/16" trapped between the blade and fence is not a very safe situation. The flex in such a small piece can allow it to bind and kick back or explode. I did not have any issues do to the constant pressure from the feather boards.
Starting to get skinny! Pushing 3/4" x 1/2" x 20' "noodles" gets easier as they get smaller.
I was lucky to have amazing Christmas weekend weather - 71 degrees and sunny for this whole process which made it way more pleasant to have the shop door open. To wind things down for the weekend I did a good sweep, and got my 1987 craftsman 2 stroke leaf blower to give the shop a detail cleaning before the garage door gets closed for the rest of the winter. It's fun running a leaf blower inside and very effective at scrubbing fine fine sanding dust off every surface.
I'll be heading out of town for New Years so I don't think I'll see much progress over the next week. With the shop clean, and strips neatly stacked on my new rack, I even had room for the old dodge to park inside out of the rain for a few days!
See you next year!